How Chocolate Enrobing, Decorating, and Polishing Machines Achieve a Flawless Finish
Why the Final Coating Stage Defines Confectionery Quality
A candy bar, praline, or biscuit can be made from excellent raw materials and still fail on the shelf if the outer coating is dull, uneven, or cracked. The finishing stage of a confectionery line is where a product either gains a glossy, appetizing surface or loses market value to visible defects. This stage typically includes three connected steps: coating the center with liquid chocolate, adding a decorative pattern or topping, and polishing the surface to a stable, attractive shine.
Manufacturers who treat these three steps as a single continuous workflow, rather than isolated machines bolted together, consistently report fewer rejects and more predictable output. This article looks at how each stage works, what process variables matter, and how to evaluate equipment for a production line that needs a repeatable, professional finish.
The Three Stages of a Coating Line
Before comparing individual machines, it helps to separate the finishing process into distinct functional zones. Each zone has its own temperature range, mechanical action, and quality target.
Stage
Primary Function
Typical Temperature Range
Quality Risk if Skipped
Coating (Enrobing)
Apply a uniform chocolate or compound shell over the center piece
29 to 32 degrees C
Bare spots, thin coverage, footing defects
Decorating
Apply drizzle lines, dots, inclusions, or a second color
30 to 33 degrees C
Inconsistent branding pattern, poor visual differentiation
Polishing
Build a stable gloss layer and remove surface haze
Ambient, 18 to 22 degrees C
Cloudy finish, fingerprint marks, short shelf appeal
Each of these zones can be handled by a dedicated machine, and the way they connect through the conveying system has a direct effect on line speed and consistency. A chocolate fountain machine is often used upstream to keep melted chocolate in continuous circulation and at a stable viscosity before it ever reaches the coating curtain, which reduces the risk of temperature drift feeding into the enrober.
What Happens Inside a Chocolate Enrobing Line
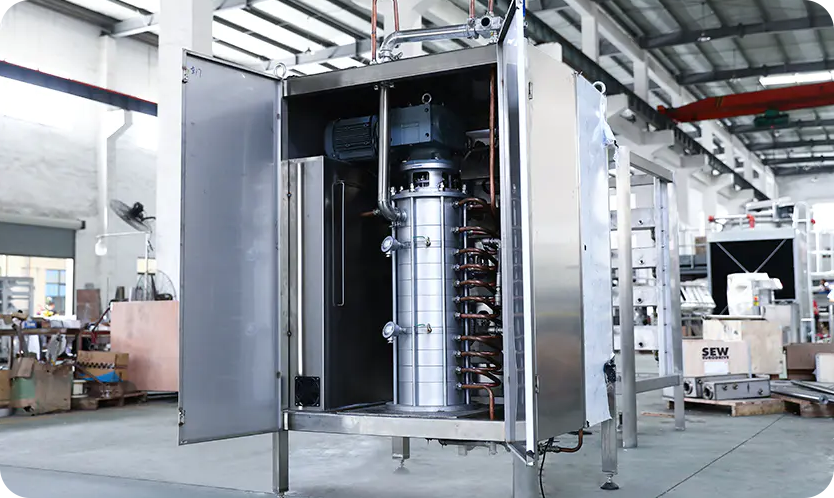
An enrober machine works by passing center pieces, such as biscuits, nuts, fruit, or molded fillings, under a falling curtain of tempered chocolate. A mesh belt carries the product through the curtain, then under a bottom coating roller, and finally through a set of air blowers or knives that control shell thickness. The belt speed, curtain volume, and airflow are the three variables that most affect coating weight.
Core Functional Zones of an Enrobing Line
Feeding section: aligns and spaces center pieces before they enter the curtain
Curtain and bottom coating zone: applies the primary chocolate layer from top and bottom
Detailing zone: removes excess chocolate and shapes the coating edge
Cooling tunnel: sets the shell through a controlled temperature drop
The SJP Series Chocolate Enrobing Line is built around this sequence, combining a tempered chocolate reservoir, curtain coating head, and cooling tunnel into a single connected line. Because the reservoir recirculates chocolate continuously, the line avoids the settling and skinning problems that occur when melted chocolate sits still for extended periods.
Reliable chocolate conveying between the melting tank, the tempering unit, and the enrobing head is just as important as the enrobing head itself. If the transfer pump or piping allows the chocolate to cool unevenly, the viscosity at the curtain will vary, and coating weight will drift across a production run even if the enrober settings never change. This is one reason enrobing lines are usually specified as a connected system rather than as separate purchased components.
How the Coating, Decorating, and Polishing Stages Connect
Understanding the physical flow of product through a finishing line makes it easier to diagnose where a quality problem originates. The diagram below shows the typical sequence from raw center piece to polished, packaged product.
Melting and Tempering Enrobing SJP Series Coating Line Cooling Tunnel Decorating QLH Series Design Unit Polishing PGJ Series Gloss Unit Packing Line Continuous Coating and Finishing Flow
Adding Identity Through Decoration
Once a product has a set chocolate shell, decoration is what gives it visual identity on a retail shelf. This can include a contrasting drizzle line, dot patterns, chopped nut or crumb inclusions, or a printed pattern using colored cocoa butter. Decoration must be applied while the base shell is still receptive, since chocolate that has fully crystallized will not properly bond a second layer.
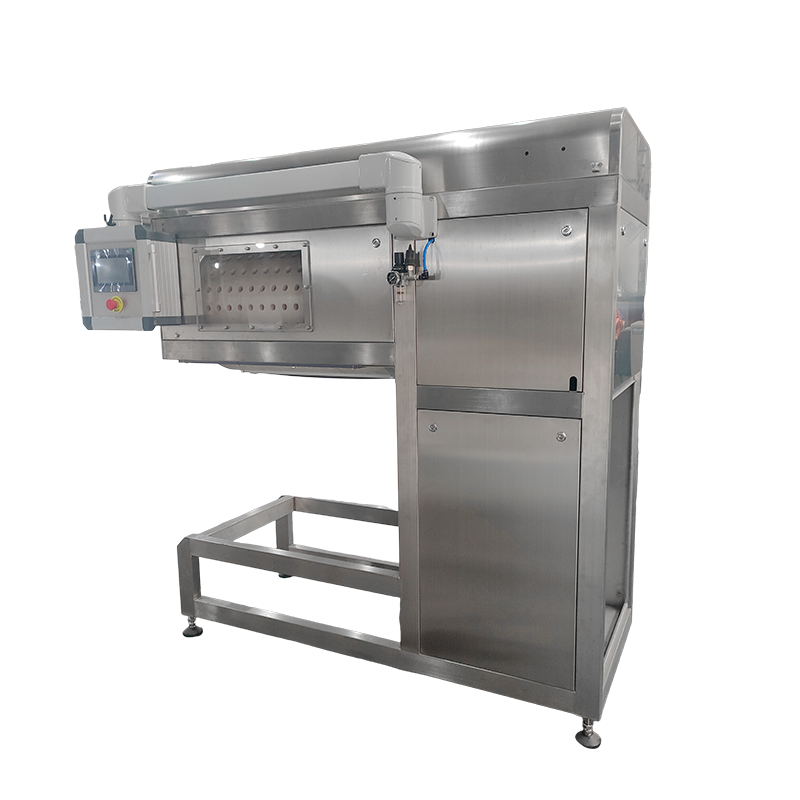
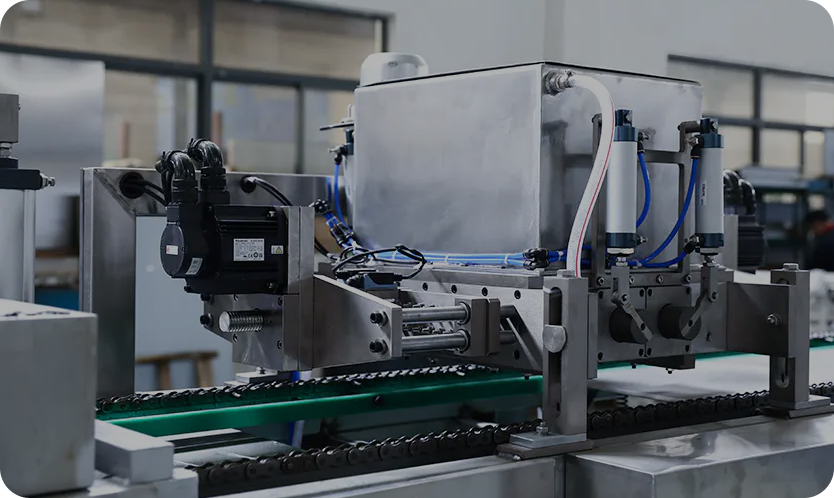
A QLH Decorating Machine is positioned directly after the cooling tunnel of an enrobing line so that the base shell has just enough surface tack for the decorating layer to adhere without smearing. Nozzle spacing, line speed synchronization with the main conveyor, and material viscosity all affect how clean the resulting pattern looks.
Consistent decoration depends less on the decorating head itself and more on how tightly its speed is synchronized with the belt carrying product beneath it. A one percent mismatch in speed is often enough to produce visibly wavy drizzle lines across a full production shift.
Beyond drizzle and dot patterns, many lines also use a belt coating machine configuration to apply a second full layer, such as a colored compound coating over a base chocolate shell, before the decorating head adds finer detail. This layered approach is common for seasonal or promotional products that need a distinct visual identity without changing the underlying recipe.
Polishing: The Step That Determines Shelf Appeal
Gloss is one of the first things a buyer notices, and it is also one of the easiest quality attributes to lose during storage and transport. Polishing addresses this by building a thin, stable film over the coated product, most commonly through a rotating drum process similar in principle to a panning machine candy operation, where product tumbles gently while a small volume of polishing agent is applied in controlled doses.
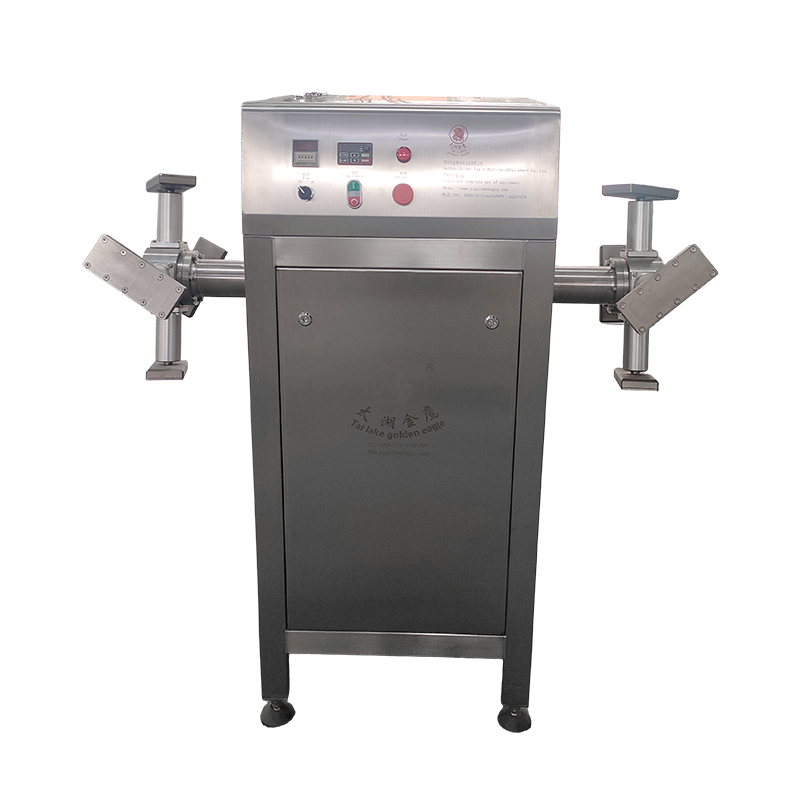
A PGJ Series Polishing Machine typically operates as the last mechanical step before packaging. The drum rotation speed, dwell time, and dosing interval need to be tuned to the specific product size and shape, since oversized or irregular pieces polish unevenly if drum speed is set for a smaller, more uniform item.
Polishing Variable
Effect if Too Low
Effect if Too High
Drum rotation speed
Uneven gloss distribution
Surface abrasion, chipped edges
Dwell time
Incomplete film formation
Excess buildup, tacky surface
Polishing agent dosage
Dull, patchy finish
Sticky pieces clumping together
This stage also functions as general candy coating equipment for panned confections beyond chocolate, including sugar-panned nuts and dragee-style products, since the drum mechanism and dosing principle are largely the same regardless of the coating material.
Comparing Equipment Roles at a Glance
The table below summarizes how each machine type fits into the finishing workflow, which is useful when planning line layout or troubleshooting a specific defect.
Equipment
Position in Line
Main Output
Chocolate Enrobing Line
After center piece forming, before cooling tunnel
Uniform base shell coverage
Decorating Machine
After cooling tunnel, before final set
Pattern, drizzle, or second color layer
Polishing Machine
Final stage before packaging
Stable gloss and surface protection
Line Planning Tip
When laying out a new finishing line, leave adjustable spacing between the cooling tunnel exit and the decorating head. Product that exits the tunnel too warm will smear under a decorating nozzle, while product that has cooled too far will not accept a second layer cleanly.
Common Surface Defects and Their Likely Source
Most visible coating defects can be traced back to one of a small number of process variables. Reviewing the pattern of a defect, rather than the defect alone, usually points to the responsible stage.
Grayish streaking or bloom: usually linked to poor tempering control before the chocolate reaches the enrobing curtain, or to temperature cycling during storage after packaging
Thin or bare patches on the shell: often caused by curtain volume that is too low relative to belt speed, or by center pieces that are too cold when entering the curtain
Wavy or broken decorating lines: typically a synchronization issue between the decorating head and the main conveyor speed
Dull or patchy gloss after polishing: frequently traced to inconsistent dosing of the polishing agent or a drum speed that does not match product size
Product sticking together after polishing: generally the result of excess polishing agent combined with insufficient dwell or drying time
Because these stages are connected, a defect that appears at the polishing step does not always originate there. A shell that was slightly under-coated at the enrobing stage, for example, can leave an uneven surface texture that no amount of polishing adjustment will fully correct.
Practical Maintenance Habits for Consistent Output
Finishing equipment runs with moving belts, rotating drums, and continuously circulating liquid chocolate, all of which need routine attention to hold consistent quality over long production runs.
Clean the coating curtain and bottom roller at the end of each shift to prevent residue buildup that changes coating weight over time
Check belt tension on the enrobing and cooling sections weekly, since a sagging belt changes dwell time under the curtain
Inspect decorating nozzles daily for partial blockages, which are a common and often overlooked cause of inconsistent drizzle patterns
Calibrate the polishing agent dosing pump on a fixed schedule rather than waiting for a visible gloss problem to appear
Log tempering unit temperature readings so gradual drift can be caught before it affects an entire production batch
Frequently Asked Questions
Q1: What is the difference between enrobing and panning as coating methods?
Enrobing applies a coating by passing product under a falling curtain of liquid chocolate, which suits pieces that need a full, even shell. Panning applies coating in thin layers while product tumbles in a rotating drum, which suits smaller pieces or applications where a thinner, buildable layer is preferred.
Q2: How is decorating timed relative to the cooling tunnel?
Decoration is generally applied shortly after the base shell exits the cooling tunnel, while the surface still has a slight tack. This allows the decorating layer to bond without the base shell losing its shape or the decoration smearing on contact.
Q3: Why does polishing sometimes reduce gloss instead of improving it?
This usually happens when the polishing agent dosage is too high for the dwell time available, leaving an uneven or tacky film rather than a smooth one. Reducing dosage slightly or extending dwell time typically resolves the issue.
Q4: Can one line handle multiple product shapes without major changeover?
Many finishing lines can handle a reasonable range of shapes with belt speed and curtain volume adjustments alone. Significant changes in piece size or weight, however, usually require adjusting drum speed on the polishing stage and nozzle height on the decorating stage as well.
Q5: What causes coating weight to drift during a long production run?
Gradual temperature drift in the recirculating chocolate reservoir is the most common cause, since viscosity changes with temperature even within a narrow range. Regular temperature checks at the curtain, not just at the melting tank, help catch this before it affects yield.
.section-intro, .section-process-overview, .section-enrobing, .section-flow-diagram, .section-decorating, .section-polishing, .section-comparison, .section-troubleshooting, .section-maintenance, .section-faq {
margin-bottom: 40px;
font-family: 'Segoe UI', Roboto, 'Helvetica Neue', sans-serif;
font-weight: 400;
line-height: 2;
}
.section-intro h2, .section-process-overview h2, .section-enrobing h2, .section-flow-diagram h2, .section-decorating h2, .section-polishing h2, .section-comparison h2, .section-troubleshooting h2, .section-maintenance h2, .section-faq h2 {
font-size: 20px;
font-weight: bold;
text-align: left;
margin-bottom: 10px;
padding: 10px 16px;
background: linear-gradient(90deg, #dab96a, #fbf6d0);
border-left: 6px solid #8a6a2f;
border-radius: 6px;
color: #3d2c0c;
}
.section-intro h3, .section-process-overview h3, .section-enrobing h3, .section-flow-diagram h3, .section-decorating h3, .section-polishing h3, .section-comparison h3, .section-troubleshooting h3, .section-maintenance h3, .section-faq h3 {
font-size: 18px;
font-weight: bold;
text-align: left;
margin-top: 5px;
margin-bottom: 5px;
color: #5c451c;
}
.section-faq h4 {
font-size: 16px;
font-weight: 500;
text-align: left;
color: #6b4f1d;
margin-top: 14px;
}
.section-intro p, .section-process-overview p, .section-enrobing p, .section-flow-diagram p, .section-decorating p, .section-polishing p, .section-comparison p, .section-troubleshooting p, .section-maintenance p, .section-faq p {
margin-bottom: 5px;
font-size: 16px;
color: #3a2f1c;
}
.section-enrobing ul, .section-process-overview ul, .section-maintenance ul {
margin-top: 8px;
margin-bottom: 8px;
list-style-type: disc;
list-style-position: inside;
}
.section-troubleshooting ol {
margin-top: 8px;
margin-bottom: 8px;
list-style-position: inside;
}
.section-enrobing li, .section-process-overview li, .section-maintenance li, .section-troubleshooting li {
font-size: 16px;
list-style-position: inside;
}
.section-enrobing strong, .section-process-overview strong, .section-decorating strong, .section-polishing strong, .section-comparison strong, .section-faq strong {
font-weight: 500;
}
.cke-table {
width: 100%;
border-collapse: collapse;
margin-top: 10px;
margin-bottom: 10px;
background: #fffdf5;
border: 1px solid #dab96a;
}
.cke-table td, .cke-table th {
text-align: center;
font-size: 16px;
padding: 10px 8px;
border: 1px solid #e6d59c;
}
.cke-table th {
background: #dab96a;
color: #3d2c0c;
font-weight: bold;
}
.cke-table tr:nth-child(even) td {
background: #fbf6d0;
}
.cke-card {
background: #fffdf5;
border: 1px solid #dab96a;
border-radius: 10px;
padding: 16px 20px;
margin: 14px 0;
box-shadow: 0 4px 12px rgba(150,110,40,0.12);
}
.cke-highlight {
background: #fbf6d0;
border-left: 5px solid #a97d34;
padding: 14px 18px;
margin: 14px 0;
border-radius: 6px;
font-size: 16px;
color: #4a381a;
}
.cke-tag {
display: inline-block;
background: #a97d34;
color: #fffdf5;
font-size: 14px;
font-weight: 500;
padding: 4px 12px;
border-radius: 20px;
margin-bottom: 8px;
}
.section-flow-diagram svg {
width: 100%;
max-width: 900px;
display: block;
margin: 12px auto;
border-radius: 10px;
background: #fdf9ec;
}
Read More