

 English
  Français
  عربى
عربى Chocolate Moulding Line Temperature Control: Zones, Setpoints & Troubleshooting
Run a chocolate moulding line long enough and the same defects keep returning: dull grey streaks across a perfectly shaped bar, pieces that refuse to release from the mould, or a soft centre that deforms before it reaches the packer. Chocolate leaves almost no room for guesswork, and the difference between a clean production run and a rejected batch usually sits in the temperature curve — from the tempering unit, through the holding tank, into the depositor, and along every zone of the cooling tunnel.
This article looks at which temperatures actually matter on a chocolate moulding line, why small deviations turn into expensive defects, and where to start when a line stops behaving.
Why Temperature Control Decides Chocolate Quality
On a chocolate moulding line, temperature tolerance is quality control. Cocoa butter crystallizes in several forms, and the tempering unit prepares the mass so that it sets in the stable form that gives chocolate its gloss, snap, and shelf life. If the chocolate leaves the temperer at the right temperature but is held a couple of degrees warmer before depositing, the stable crystal population begins to melt away. The result is not an immediate visible defect; the defects show up hours or days later as bloom, soft texture, weak contraction, and poor demoulding.
Temperature also changes flow behaviour. A warmer mass pours into fine mould detail easily, but it can overrun the edges, trap air, and make the deposit weight drift from cavity to cavity. A colder mass holds its shape better in the mould and releases more cleanly, but it thickens, leaves bubbles, or blocks the depositor nozzles. Experienced processors can use a shift of one degree to solve a specific defect, but that is possible only when the line holds the rest of the curve steady.
A moulding line is a chain of temperature zones. A defect downstream is almost always caused upstream, one or two zones earlier.
The Five Temperature Zones That Matter on a Moulding Line
Treat the line as five separate temperature zones with different jobs. The table gives starting setpoints; the exact values depend on the recipe, mould depth, and line speed, but the control logic stays the same.
| Zone | What It Controls | Typical Starting Range | Typical Result of Poor Control |
|---|---|---|---|
| Tempering unit outlet | The crystal population carried into the moulding process | 30–32 °C for dark chocolate; 28–30 °C for milk and white | Fat bloom, slow setting, soft texture |
| Holding tank and transfer lines | How little the crystal population changes between temperer and depositor | Temper outlet value ±1–2 °C | Chocolate thickens, seeds are lost, lines block |
| Depositor and nozzles | Flow, deposit weight, and filling behaviour | Up to 1 °C above the tempering outlet | Drips, tailing, bubbles, weight drift |
| Mould preheating | Surface definition, bubble release, and first cooling contact | 35–45 °C | Dull finish, weak edges, sticking in cavities |
| Cooling tunnel | Speed of crystallization and contraction | Inlet 12–16 °C; middle 8–12 °C; outlet 14–18 °C | Bloom, soft centres, mould sticking, deformed pieces |
Two details are easy to miss on the factory floor. First, it is the mass temperature of the chocolate that counts, not the water jacket temperature; measure in the stream with calibrated probes. Second, the cooling tunnel should remove heat gradually. A cold first zone stiffens the surface while the interior is still fluid. The piece then contracts unevenly and can stick in the mould or develop a grey surface weeks later.
What Precise Temperature Control Requires from the Equipment
A line that holds temperature through a full shift — not just at start-up — comes down to engineering details that are worth checking before purchase.
- Tempering accuracy: the tempering unit should have independent water circuits for cooling and reheating, and ideally a temper meter that shows the crystal state continuously. A stable temper curve matters more than a single dial setting.
- Short, insulated transfer paths: every metre of pipe between the temperer and the depositor is a place where temperature drifts or heat is lost. Covered lines and gentle slow-speed agitation keep the mass uniform without breaking the seed crystals.
- Pump sizing that avoids shear heating: an oversized pump circulates chocolate under high pressure and raises its temperature. The pump should be sized for the line's flow so that it moves the mass without adding heat.
- True zoned cooling: the cooling tunnel should have independent zones with adjustable airflow, not just one overall temperature reading. Surface airflow does the cooling work, so top and bottom flow patterns matter as much as the set point.
- Recording and tracking: PID loops and calibrated sensors keep the temperature steady; a recorder per batch lets you trace a defect to the exact moment it was caused.
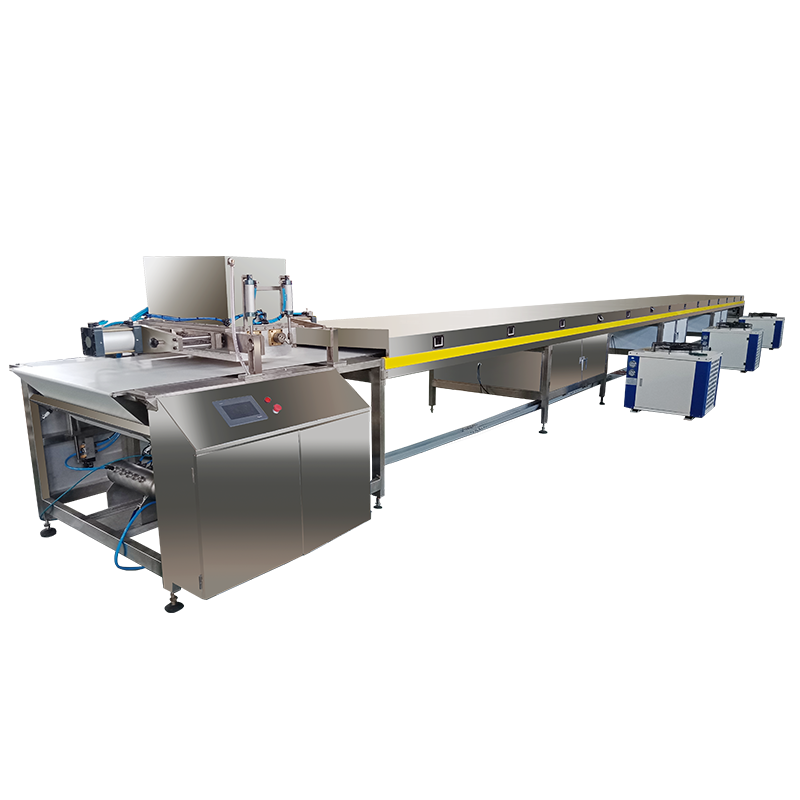
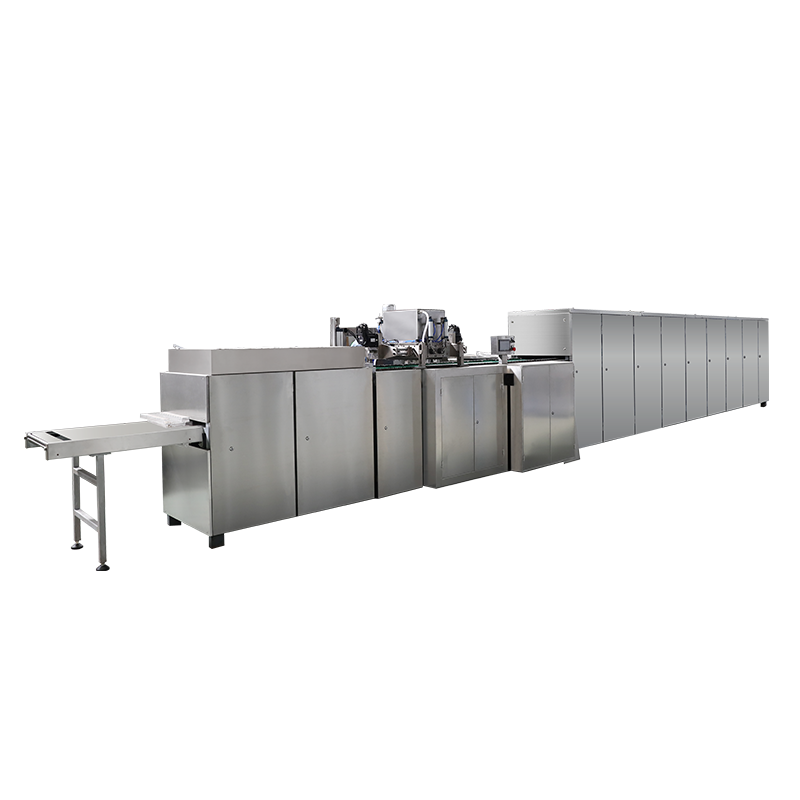
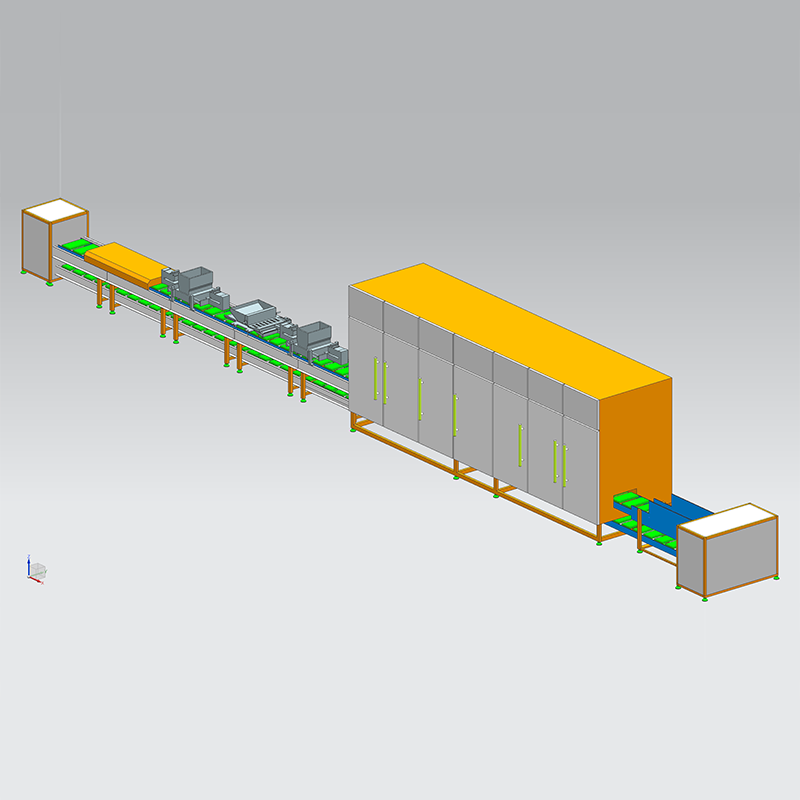
Capacity matching is another hidden point. An over-sized temperer keeps the chocolate moving through the unit for too long and overworks the crystal structure; an undersized unit cannot keep up with the depositor. The supplier that designs the whole line should balance these figures during engineering, not leave the customer to join components from different makers. Suzhou Golden Eagle Machinery builds moulding lines with tempering, holding, depositing, and cooling engineered as one temperature scheme, so the thermal behaviour of each section matches the next.
Common Temperature Problems and How to Trace Them
Troubleshoot from the symptom and work backwards. Because most defects become visible long after the cause, the last suspect is usually the right one.
| Symptom | Most Likely Temperature Cause | Where to Check First |
|---|---|---|
| Grey or white film on the surface | Mass too warm at depositing, or first cooling zone too cold | Temper reading at the depositor; inlet zone of the tunnel |
| Pieces stick in the mould | Chocolate not fully crystallized at the demoulding point | Final cooling zone temperature; mould preheat temperature |
| Soft pieces that deform easily | Seed crystals lost in the holding tank; weak crystal network | Holding tank temperature; temper reading before the depositor |
| Bubbles and cavities inside the piece | Chocolate too cold and viscous when deposited | Depositor temperature, pump pressure, nozzle temperature |
| Tailing and drips between deposits | Chocolate too warm or nozzle too hot | Nozzle temperature and cut-off timing |
Quick Answers on Moulding Line Temperature Control
Q1: What is the ideal tempering temperature for dark chocolate?
For most dark chocolate, the tempering unit outlet should run near 30–32 °C. The exact point depends on the cocoa butter content and recipe, so set the outlet where the temper reading stays stable across a full shift. Temperature alone is not enough; the crystal state shown by a temper meter reading is the real target.
Q2: Why does chocolate develop a grey surface after storage?
A grey film is normally fat bloom. It happens when unstable crystals recrystallize on the surface, often because the chocolate was deposited too warm, cooled too quickly in the first tunnel zone, or stored at fluctuating temperatures. Check the depositing temperature and the cooling profile before blaming the recipe.
Q3: How should I measure temperature in the depositor?
Use a calibrated probe in the actual chocolate stream or in the hopper, not a surface reading and not the water jacket value. Ideally take a temper reading at the same point, because a correct temperature with a weak crystal population still produces defective chocolate.
Q4: Is a colder cooling tunnel always better?
No. If the first zone is too cold, the surface sets quickly while the interior is still fluid. The piece contracts unevenly, sticks in the mould, and may bloom later. Gradual, zoned cooling gives the chocolate time to crystallize and release from the mould cleanly.
Temperature control on a moulding line is not a single set point; it is a curve that the line has to hold from tempering to demoulding. Small deviations compound, and the defects they cause can reduce yield or end up in the customer's hands weeks later.
When you evaluate a line, ask for the temperature scheme behind every zone and for the recording system that proves the line actually holds the curve. That is where consistent chocolate quality begins.