

 English
 Français
 عربى
Chocolate Moulding Line Mould Change Process: Steps, Time & Best Practices
Content
- 1 Why the Mould Change Process Deserves More Attention
- 2 Chocolate Moulding Line Mould Change: Six Repeatable Steps
- 3 What Determines How Fast a Mould Change Can Happen
- 4 Realistic Time Benchmarks for Mould Change
- 5 Common Mould Change Mistakes and Their Consequences
- 6 Practices That Reduce Mould Change Time Without Sacrificing Quality
- 7 Frequently Asked Questions About Mould Change
A plant engineer watches the clock during every changeover: the depositor nozzle bar is raised, the cooling tunnel still carries the previous batch's moulds, and two operators loosen clamps that should have been upgraded years ago. A fast, predictable mould change on a chocolate moulding line often becomes the biggest hidden loss in the production schedule.
Conclusion up front: a disciplined mould change takes 15 to 30 minutes for most polycarbonate mould sets, and the biggest factor is not operator speed but how well the line, the mould carriers, and the changeover routine are designed for the job.
Why the Mould Change Process Deserves More Attention
A moulding line is built to run continuously, yet every recipe change, shape change, or packaging change forces a complete mould swap. The swap matters because a stopped line does not earn. If a line runs 30 mould changes per week and each runs 25 minutes longer than needed, more than 12 hours of production disappear every week.
Quality suffers too. A rushed change leaves the cooling tunnel at the wrong temperature, the depositor misaligned, or the demoulding station applying too much force. The result is underfilled pieces, scrap, and worn moulds. The mould change process is a quality control checkpoint as much as a mechanical job.
Chocolate Moulding Line Mould Change: Six Repeatable Steps
Regardless of whether the line produces solid bars, hollow figures, or pralines, the sequence is the same. Following it in order, every time, is what separates a plant with a 20-minute changeover from a plant with a 40-minute one.
- Prepare the replacement mould set before stopping the line. The new moulds should be preheated to the line's normal mould temperature — typically 25–30°C for standard chocolate products — and checked for damage. A scratched cavity, deformed frame, or worn registration hole will create defects immediately after the restart.
- Stop the line at the correct point in the cycle. Stop after the last mould has been filled and has entered the cooling tunnel. Empty the depositor, switch the tempering unit to recirculation, and reduce the pump speed. This prevents chocolate from cooling in the pipes and forming a plug that delays the next start.
- Release and remove the running mould set. Loosen the quick-release clamps or screws on each mould carrier and slide the moulds out along the guide rails onto a dedicated trolley. Stack them gently; even a small bend in a mould frame shows up as misaligned cavities in the next run.
- Inspect and clean the carrier surface. Wipe the support rails, clamp seats, and registration pins while the carrier is accessible. Residual chocolate, sugar dust, and silicone release agent build up on these surfaces and make moulds sit slightly crooked.
- Align and install the new mould set. Place the first mould on the carrier, engage the registration pins, and close the clamps. Work from the depositor end toward the demoulding end so that alignment errors are not multiplied. Every mould must sit flat; a height difference of only 2 mm across the carrier changes the fill weight.
- Restart at reduced speed and verify. Start at 60–70% of nominal speed, fill three to five test moulds, and inspect fill weight, cavity completeness, and demoulding behaviour. If the test pieces are clean, raise the speed gradually and re-check before returning to full production.
The sequence works best with two operators: one on the depositor side and one on the demoulding side. A solo operator is the most common reason a simple mould change drags out.
What Determines How Fast a Mould Change Can Happen
Operators can be trained and motivated, but hardware decides the realistic minimum. Three groups of factors control mould change duration: mould design, line design, and work organization.
Mould design
Polycarbonate moulds are light but flexible, so they need a flat carrier surface and correct support spacing. Registration holes in every mould frame speed up alignment, and numbered mould kits remove guesswork from matching a set to the product.
Line design
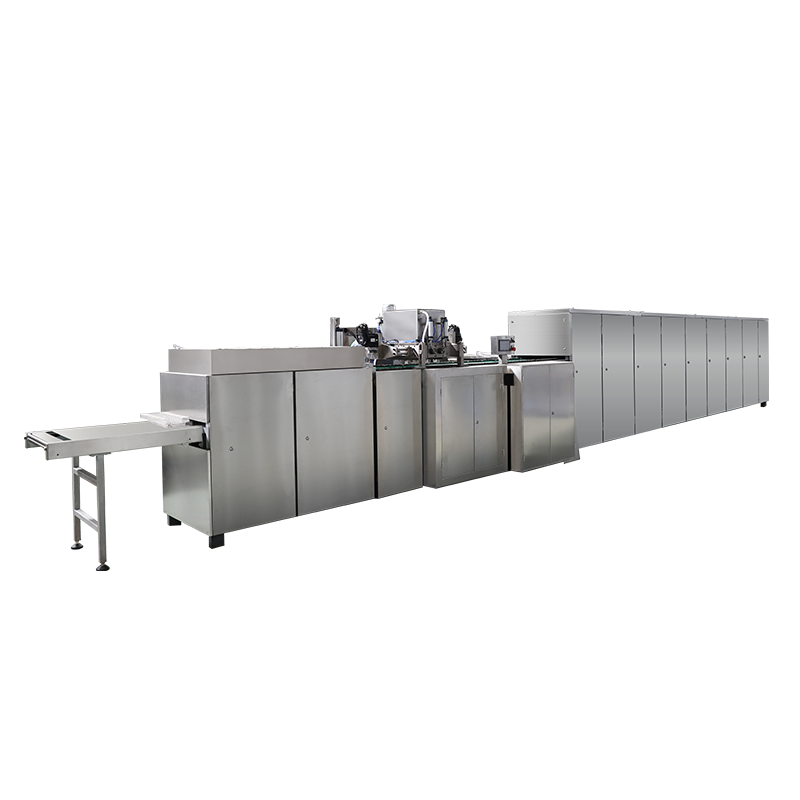
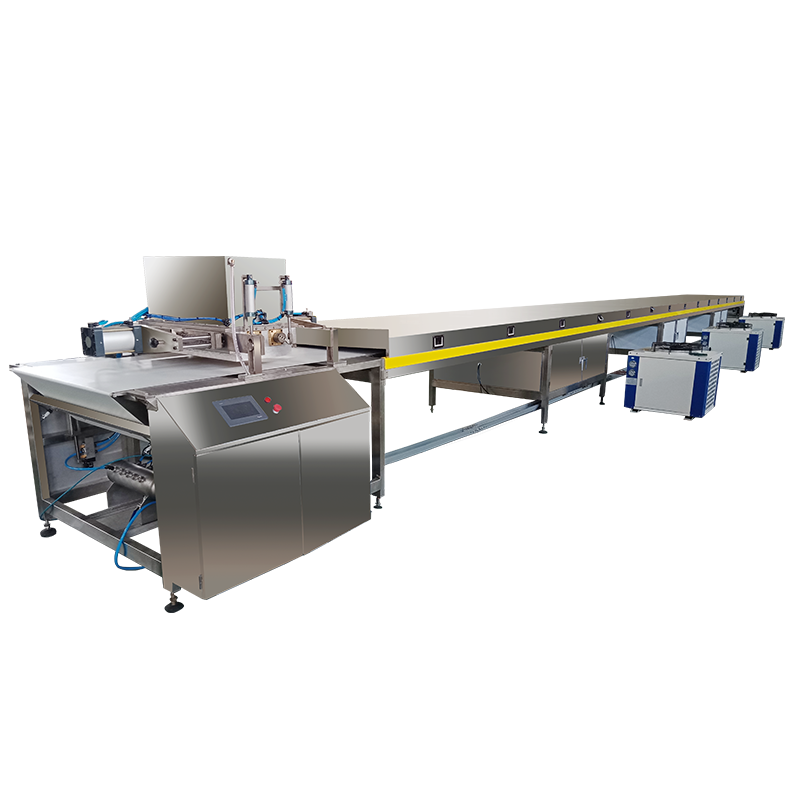
Quick-release clamps, guide rails with wear-resistant inserts, and a feeding table at working height can cut changeover time by almost half compared with bolted carriers. When evaluating a chocolate moulding line, ask how the carrier release mechanism works and whether one person can reach every clamp without stretching over the cooling tunnel. Look for features such as quick-change carrier system and registered guide rails.
Work organization
The team needs a clear sequence, pre-positioned spare moulds, and a trolley that fits the mould dimensions. Printing the sequence as a checklist and requiring each step to be ticked before restart often saves ten minutes per change.
Realistic Time Benchmarks for Mould Change
The figures below assume two trained operators, clean carriers, and quick-release clamps. Your exact time depends on mould weight, line length, and how strictly the preparation step is followed.
| Mould type and format | Typical change time | Conditions |
|---|---|---|
| Polycarbonate moulds, up to 20 kg per set | 15–20 min | Preheated set, two operators |
| Polycarbonate moulds, 20–50 kg per set | 20–30 min | Numbered carriers, quick-release clamps |
| Metal or registered heavy moulds, over 50 kg | 30–45 min | Lifting aid recommended |
| Pattern or recipe change requiring different cavity depth | Add 10–15 min | Depositor nozzle spacing must be adjusted |
If actual times stay above these ranges, the bottleneck is usually mechanical: worn guide rails, corroded clamp threads, or a depositor that cannot be locked into a fixed nozzle position.
Common Mould Change Mistakes and Their Consequences
Engineers see the same four or five errors in almost every plant. Correcting them offers a faster payback than buying new equipment.
- Not preheating the incoming mould set. Cold moulds condense moisture and cause poor fill or a dull surface finish.
- Skipping the alignment check. A mould 2 mm off centre produces a different fill weight along the row and stresses the demoulding pins.
- Using unregistered or mixed moulds. Pin positions vary by 1–2 mm between suppliers; mixing moulds on one carrier multiplies the alignment error.
- Looking for the next mould set only after the line stops. Locating moulds during the stop is pure lost time; the change should be planned during the previous batch.
- Restarting at full speed immediately. The first test moulds are the only early warning; skipping this step turns a small adjustment into a whole row of defective products.
Practices That Reduce Mould Change Time Without Sacrificing Quality
A few operating practices consistently shorten the mould change process while keeping quality stable.
- Pre-stage the next set during the previous run. Keep the replacement moulds within 5°C of operating temperature and place them next to the carrier before the stop.
- Standardize the sequence as a checklist. Train every shift to follow the same order; consistency makes the changeover time predictable.
- Maintain carrier components weekly. Clean registration pins, lubricate moving clamps with food-grade grease, and replace worn guide inserts early.
- Combine maintenance with mould changes. Use the stop to check the depositor nozzle tips, cooling tunnel belt, and ejector pins, converting downtime into productive maintenance.
The same principle applies when buying new equipment: mould change should be part of the selection criteria. When a supplier explains how the mould carriers are guided, how clamps are released, and what a typical changeover takes, that is a sign the line was designed around real production needs.
Frequently Asked Questions About Mould Change
Q1: How long should a mould change take on an industrial chocolate moulding line?
A typical mould change takes 15 to 45 minutes depending on mould size, weight, carrier design, and the number of operators. Lines with quick-release carriers and prepared mould sets stay at the lower end of this range.
Q2: Can one moulding line run moulds from different mould manufacturers?
Yes, if the mould frames match the carrier dimensions and registration positions. Pin positions vary by 1–2 mm between manufacturers, so test every mould type on the carrier before scheduling full production.
Q3: Does the mould change process affect chocolate tempering?
It can. A long stop leaves the tempering unit in recirculation mode, and the temperature curve can drift. Re-check the tempering unit before filling the first test moulds, and keep the stop short.
Q4: How do you verify that a mould change was done correctly?
Run three to five test moulds at reduced speed and check three things: consistent fill weight, complete cavity detail, and clean demoulding without sticking. If all three pass, the change was correct.
Small as it sounds, mould change is the most repetitive source of downtime on a chocolate moulding line and the most predictable cause of quality defects. A plant that standardizes the routine, measures every change, and maintains the carrier hardware will recover hours of capacity each week without new investment. When the time comes to buy another line, how easily it changes moulds deserves a place at the top of the specification list.