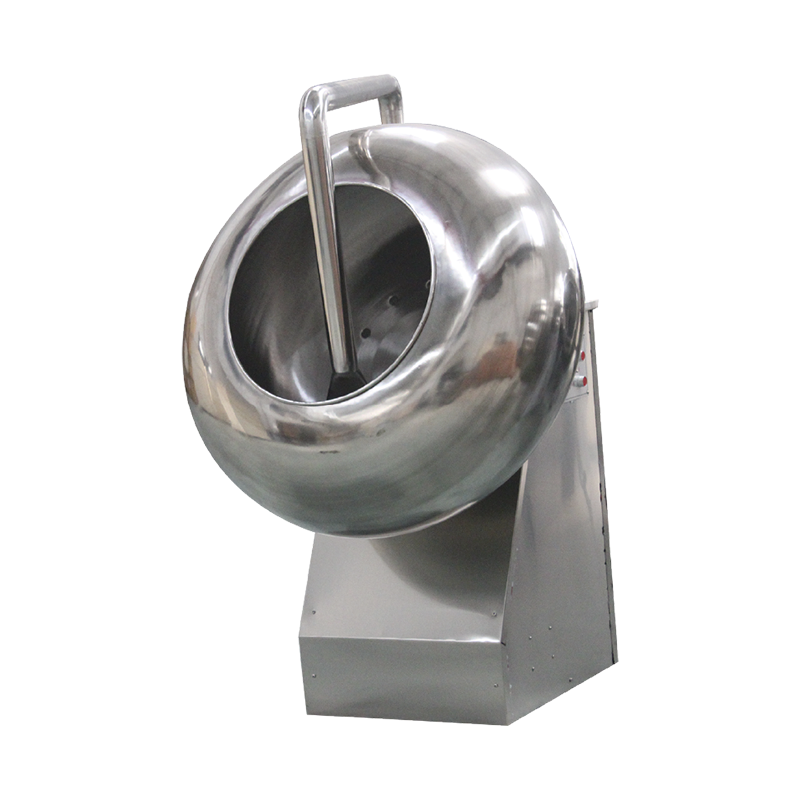
A Chocolate & Candy Polishing Machine applies a uniform glossy coating to chocolate-covered candies, nuts, beans, and similar confections by tumbling products inside a rotating drum while spraying wax, syrup, or shellac solutions. The result is a smooth, shiny surface that improves appearance, extends shelf life, and prevents sticking. Understanding how to operate this equipment correctly directly determines coating quality and production efficiency.
Before starting any polishing run, familiarize yourself with the main parts of the machine:
Before loading any product, complete a pre-operation check:
Parameter settings vary by product type. Use the table below as a general reference:
| Product Type | Drum Speed (RPM) | Air Temperature (°C) | Spray Interval (sec) |
|---|---|---|---|
| Chocolate-coated nuts | 10–14 | 18–22 | 30–60 |
| Hard candy shells | 15–20 | 20–25 | 20–40 |
| Sugar-panned chocolates | 8–12 | 16–20 | 45–90 |
| Gummy / soft candy | 6–10 | 22–28 | 60–120 |
Lower drum speeds reduce breakage for delicate products; higher speeds promote faster, more even coating distribution for harder shells.
Fill the drum to no more than 60–70% of its working volume. Overfilling restricts tumbling motion and causes uneven gloss or product damage. For a 100 kg capacity drum, a typical batch load is 60–70 kg.
Start the drum rotation first, then activate the spray system. Apply the polishing agent in multiple thin layers rather than one heavy application:
After the final spray layer, continue drum rotation with active airflow for 5–15 minutes to fully set the coating. Insufficient drying time leads to surface tackiness or product sticking together during packaging. Product surface temperature should not exceed 30°C during this phase to protect the chocolate base.
Tilt the drum to the discharge position and collect the finished product. Inspect a sample for gloss uniformity, surface smoothness, and the absence of cracks or dull spots before passing the batch to the next production stage.
The polishing agent directly determines the final appearance and functional properties of the coated product. The three most common options are:
Always verify that the polishing agent selected is approved for food contact use and compatible with your product's existing coating ingredients.
Even experienced operators encounter quality issues when these common errors occur:
Consistent maintenance protects equipment lifespan and ensures repeatable product quality. Follow this schedule:
| Frequency | Maintenance Task |
|---|---|
| After every batch | Clean spray nozzles; wipe drum interior surfaces |
| Daily | Inspect air filters; check drum rotation for unusual noise or vibration |
| Weekly | Lubricate drum bearings and drive chain; check belt tension |
| Monthly | Deep-clean the drum and spray system; inspect electrical connections and seals |
| Every 6 months | Full mechanical inspection; replace worn belts, seals, or nozzle components as needed |
Proper lubrication and nozzle cleaning account for the majority of preventable equipment downtime in confectionery polishing operations.
Achieving consistent, high-quality results depends on controlling several interacting variables simultaneously:
A standard polishing cycle takes 20–45 minutes depending on the number of coating layers applied, drying time between sprays, and the type of polishing agent used.
Yes. Most chocolate polishing equipment is designed for multi-product use. Adjust drum speed, air temperature, and spray intervals according to the specific product being processed, and thoroughly clean the drum between different product types.
Common causes include over-spraying in a single pass, insufficient drying time between layers, incorrect air temperature, clogged spray nozzles, or high ambient humidity in the production area.
Ensure each spray layer is thin and adequately dried before the next application. Maintaining the correct drum speed keeps products in constant motion and prevents contact time long enough for sticking to occur.
With proper daily cleaning, spray nozzles typically last 6–12 months before performance degrades noticeably. Replace nozzles immediately if spray pattern becomes uneven or flow rate drops despite cleaning.
For most wax emulsions, room temperature application is sufficient. However, in cold production environments (below 15°C), gently warming the polishing agent to 20–25°C improves spray atomization and surface adhesion.

 Chocolate Production Line Machinery Equipment Factory

 中文简体
中文简体 English
 Français
 عربى
عربى